


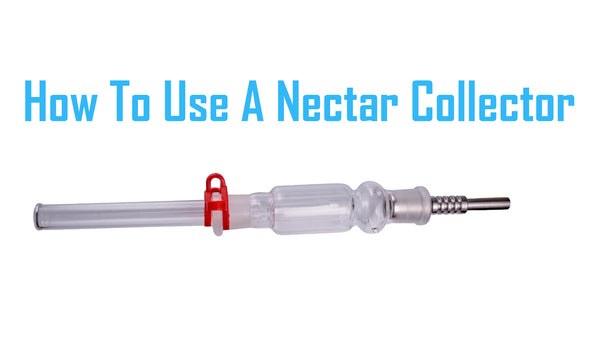
How To Use a Nectar Collector - updated for 2025
The Sweet Side of Dabbing: A Dive Into Nectar Collectors
Greetings, dabbing enthusiasts! Today, we're going to explore a tool that's rapidly becoming a must-have in the world of concentrates - the nectar collector. Offering a unique and straightforward way to dab, nectar collectors bring the sweetness of simplicity to your sessions.
Dab rigs are one of the most popular forms of smoking. They are efficient and they hit hard. However, dab rigs can also be very immobile. They are very high maintenance, featuring a lot of moving parts and a complex setup. It’s simply not convenient to carry them around.
For those who want a more streamlined dabbing experience, the nectar collector provides ultimate convenience and portability. However, if you’re new to the dabbing world, you may be asking yourself “what even is a nectar collector?”
What is a Nectar Collector?
A nectar collector, also known as a honey straw, is a slender, straw-like device used for dabbing. It operates on a straightforward principle: heat the tip, dip it into your concentrate, and inhale. It's like sipping sweet nectar from a flower, hence the name.
Why Use a Nectar Collector?
Nectar collectors have quickly gained popularity due to their ease of use and portability. Compared to traditional dab rigs, nectar collectors are simpler to set up, easier to clean, and perfect for travel. Plus, they provide a great way to control your dab sizes, giving you the power to customize your experience.
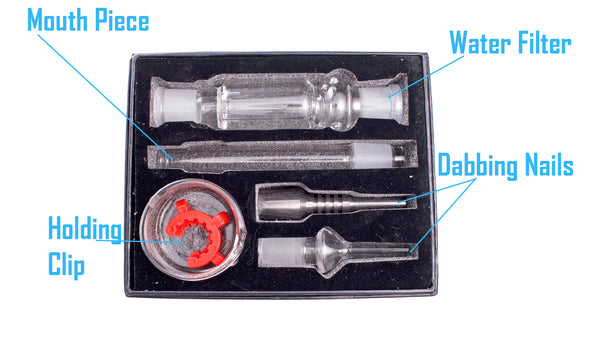
- Shop This Nectar Collector Box in less than $20
- Shop Nectar
How to Use a Nectar Collector: A Step-By-Step Guide
Step 1: Assemble Your Nectar Collector Usually, nectar collectors come in separate pieces: the body, the neck, and the tip. Connect the pieces together, ensuring a tight fit.
Step 2: Prepare Your Concentrate Lay out your desired amount of concentrate on a heat-resistant surface, like a silicone dab mat or a glass dish.
Step 3: Heat the Tip Use a torch to heat the tip of the nectar collector evenly. Remember to turn off the torch once the tip starts glowing red.
Step 4: Cool Down Allow the tip to cool down for about 10 seconds to reach a lower temperature. This will ensure optimal flavor from your dabs.
Step 5: Inhale and Dip Inhale through the mouthpiece while you dip the hot tip into the concentrate. As the heated tip touches the concentrate, it vaporizes instantly for you to inhale.
Step 6: Exhale and Enjoy Once you've taken a hit, exhale and savor the flavors and effects. Repeat steps 3-5 as desired.
Step 7: Clean Your Nectar Collector After your session, let the nectar collector cool down, disassemble it, and clean the pieces. Regular cleaning will keep your tool performing at its best.
Shop it Here
How To Clean A Nectar Collector
One of the benefits of a small portable dabbing tool like the nectar collector is that it’s easy to clean. Unlike a dab rig, which has a multitude of moving parts, you only need to clean the nectar collector itself. This can be done by submerging your tool in rubbing alcohol. After letting it soak for a few minutes, users can then pull it out and clean the inside of the tool with a Q-tip.
After cleaning, rinse thoroughly and enjoy a fresh, clean nectar collector.
Read the whole guide for "how to clean a nectar collector"
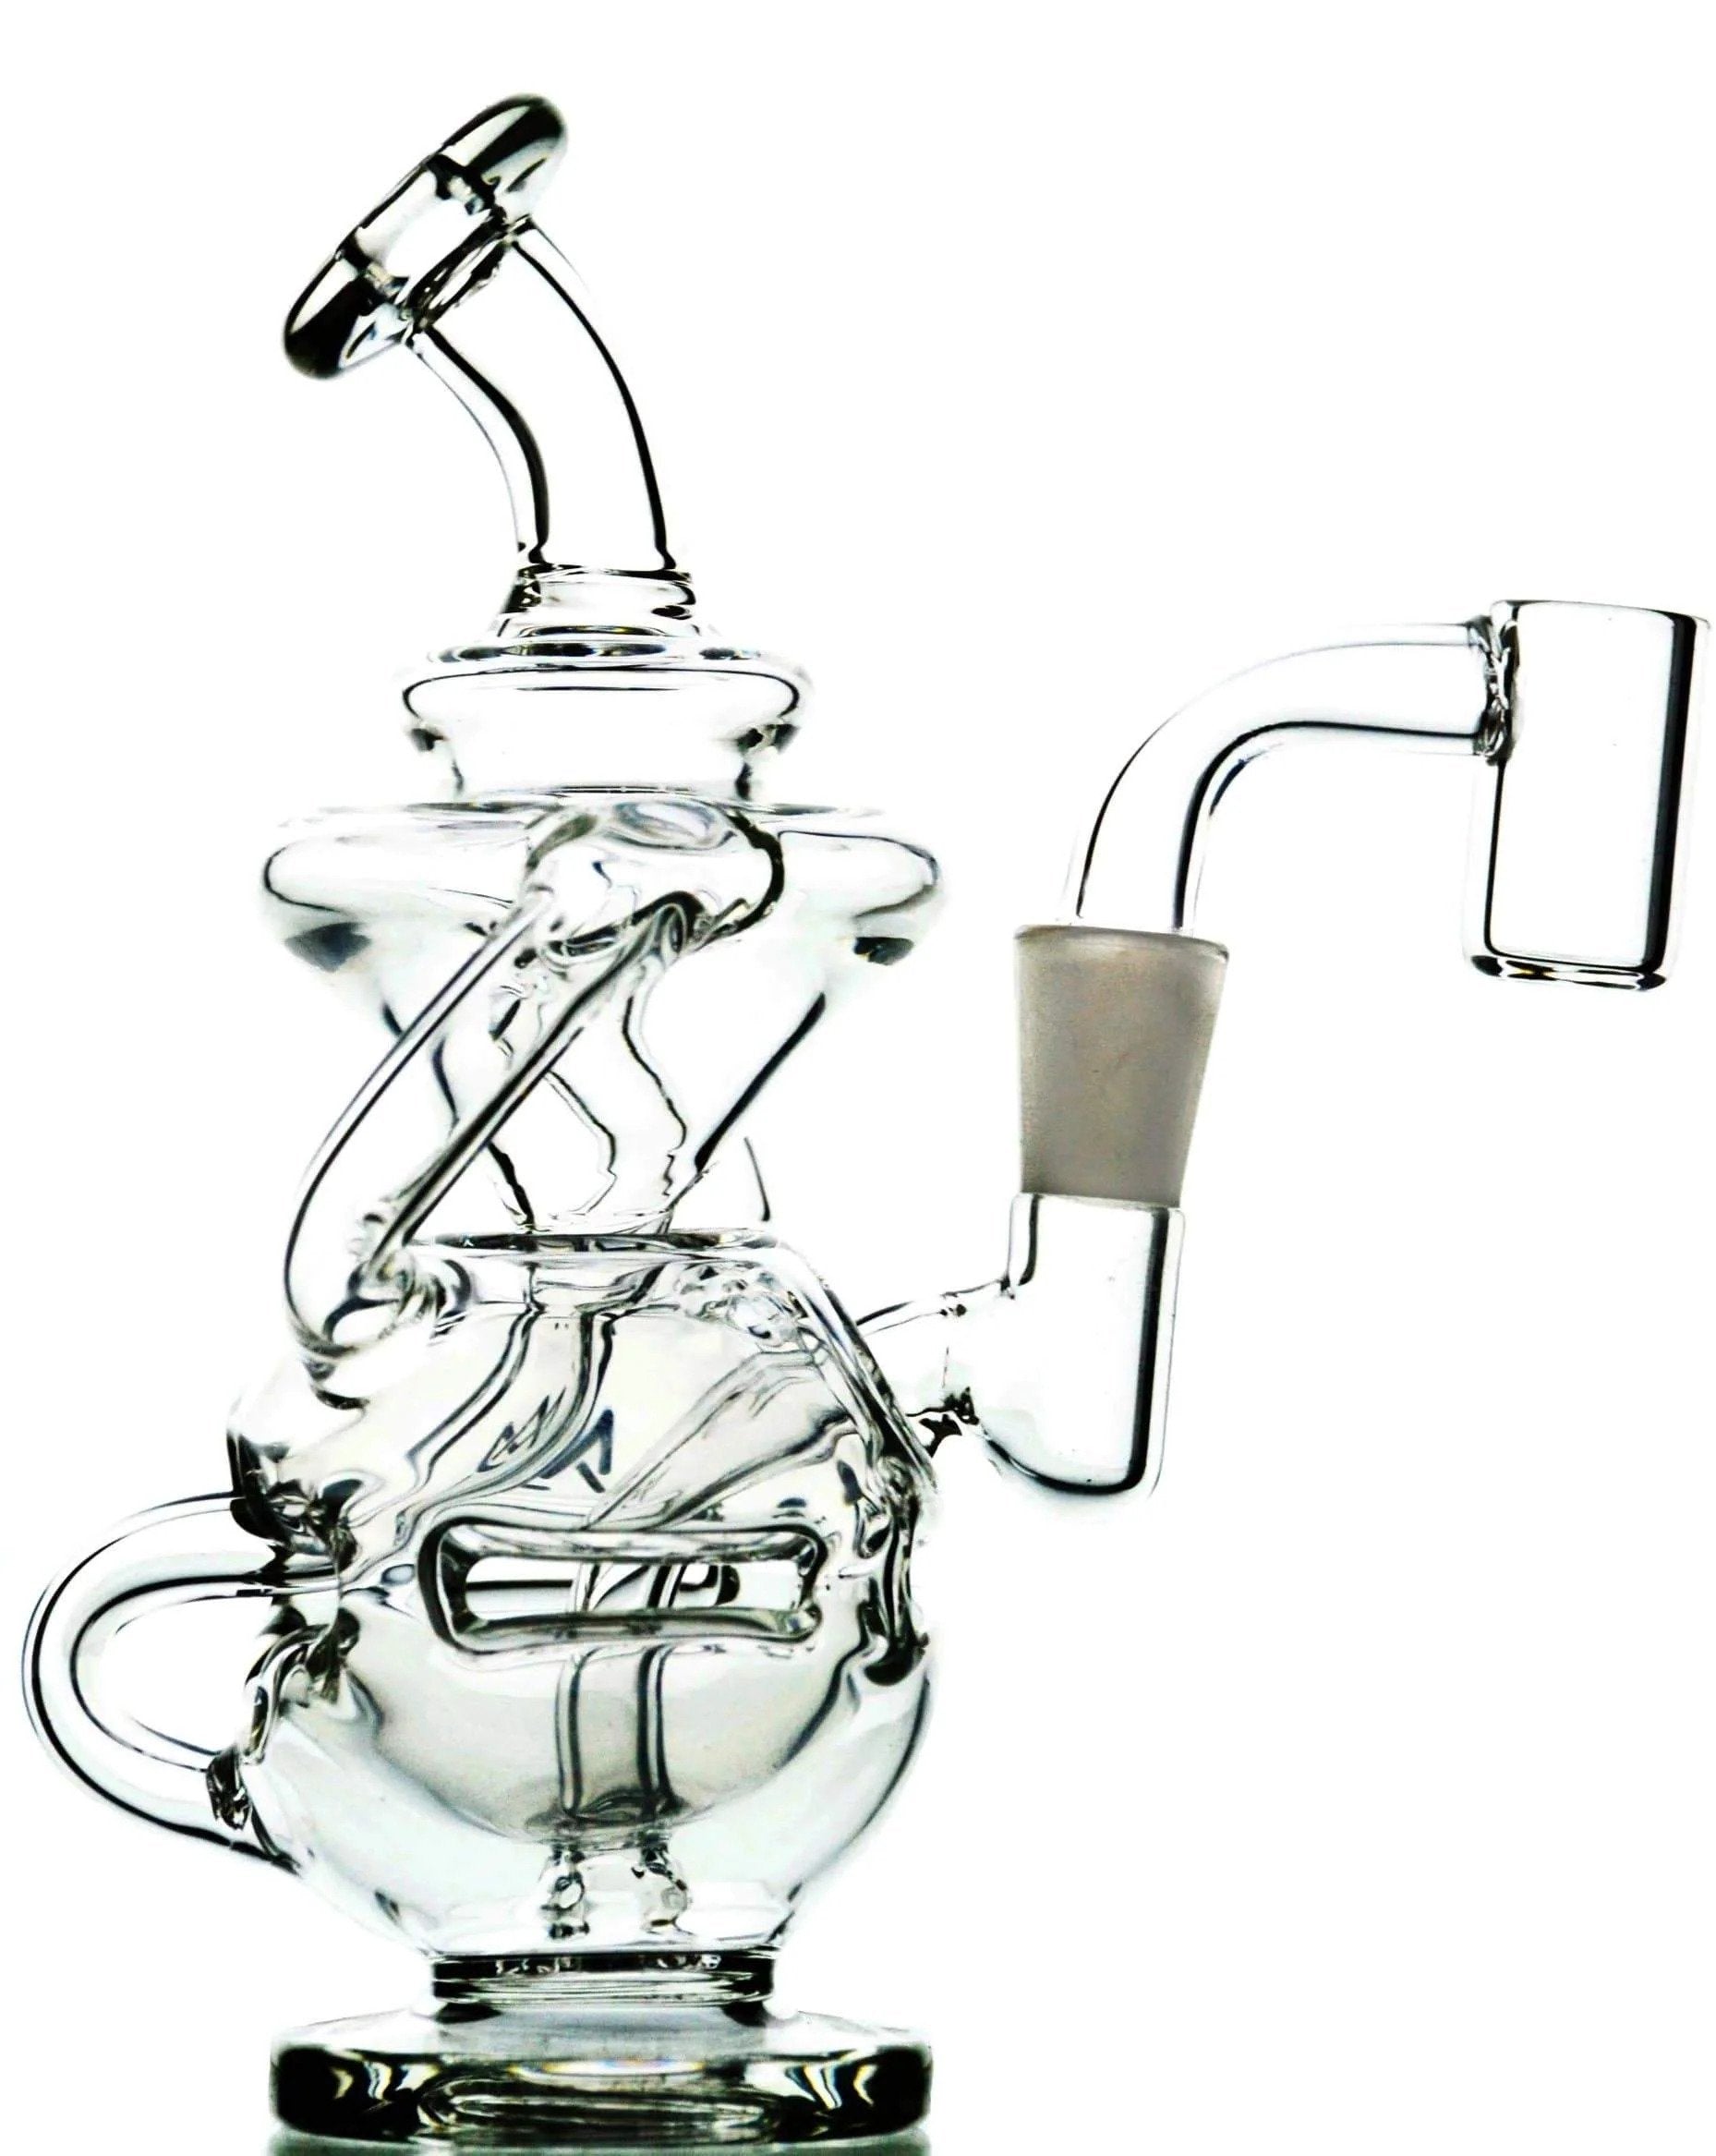
The Nectar Collector Dab Rig Experience
Nectar Collectors are significantly easier to use than dab rigs. Users often note that the ability to dab directly out of your container eliminates the need for an additional dabbing tool. With a nectar collector, you can experience discreet dabbing and portability that a traditional dab rig can not offer.
It’s efficient, inconspicuous, and perfect for those who are on the go and don’t have time to set up a traditional rig.


Leave a comment (all fields required)